I started knowing absolutely nothing about the neon manufacturing process, beyond the equipment I could imagine would be involved to to fill the tube with a specific atmosphere. I won’t get into specifics of the entire process here, as it is very involved and there are various other resources that cover this. Maybe it deserves a more in-technical post another time if I get back into the studio again.

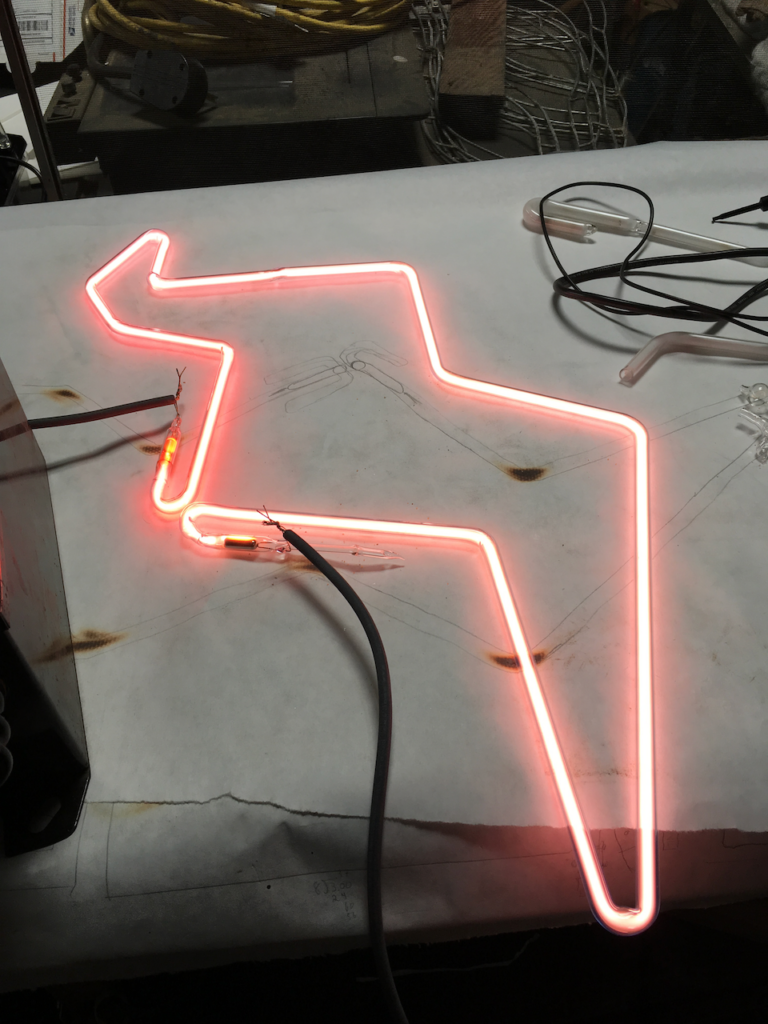
The principle process step in the creation of neon artwork is hand-bending glass tube. As far as I am aware, bending of neon was exclusively manual throughout the entire period of adoption and was never afforded any enduring efforts to automate. I cannot underscore how deceptively challenging it is to bend glass tube into a desired form, or at least to do so with any level of repeatability. Not only does the bending process demand full real-time attention, but both hands must be coordinated together in free space along with pressure from your mouth (back-pressure is applied from a mouthpiece to prevent collapse). Once you can bend the glass, it becomes apparent how critical planning the order of each bend is to do anything modestly complicated (yes this is the neon Design For Manufacturing Bending process). Planning around intersections/collisions of the glass tube is elementary but figuring out how to heat the specifically desired section of tube in tight spaces requires intuition only gained through experience.
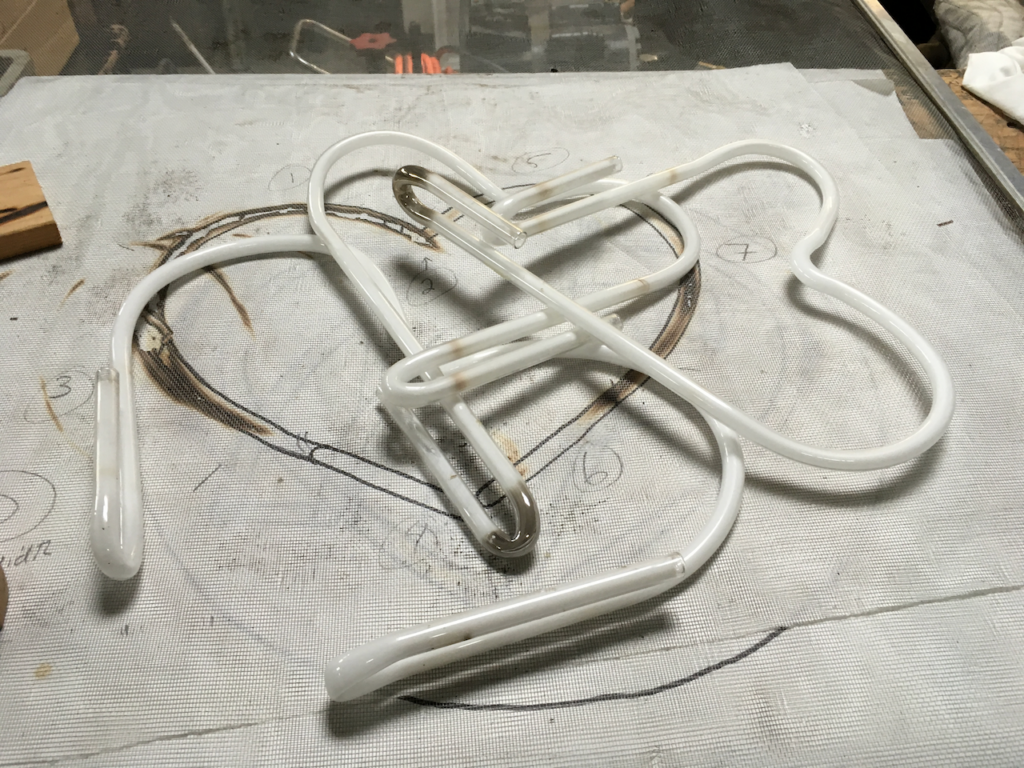
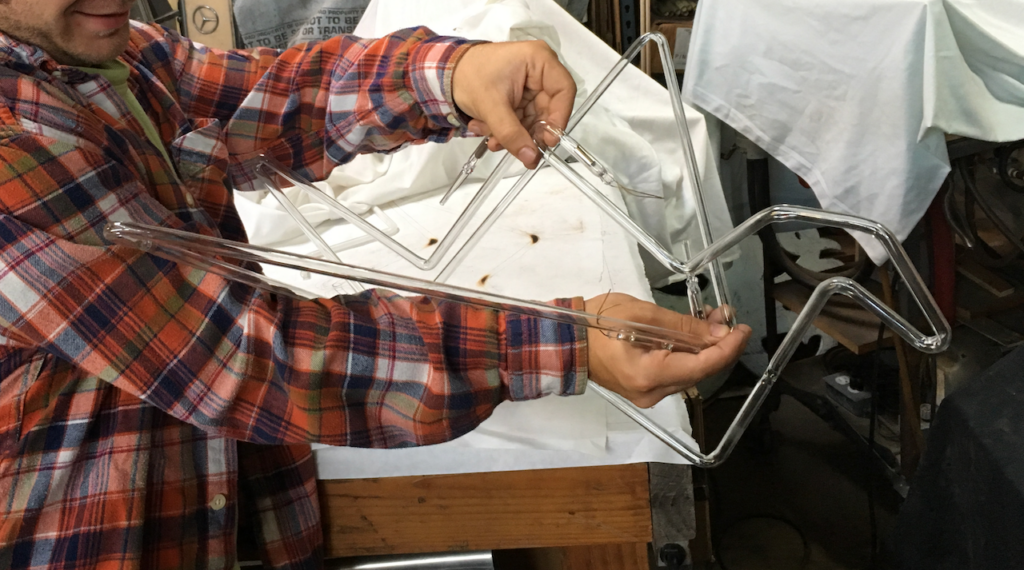
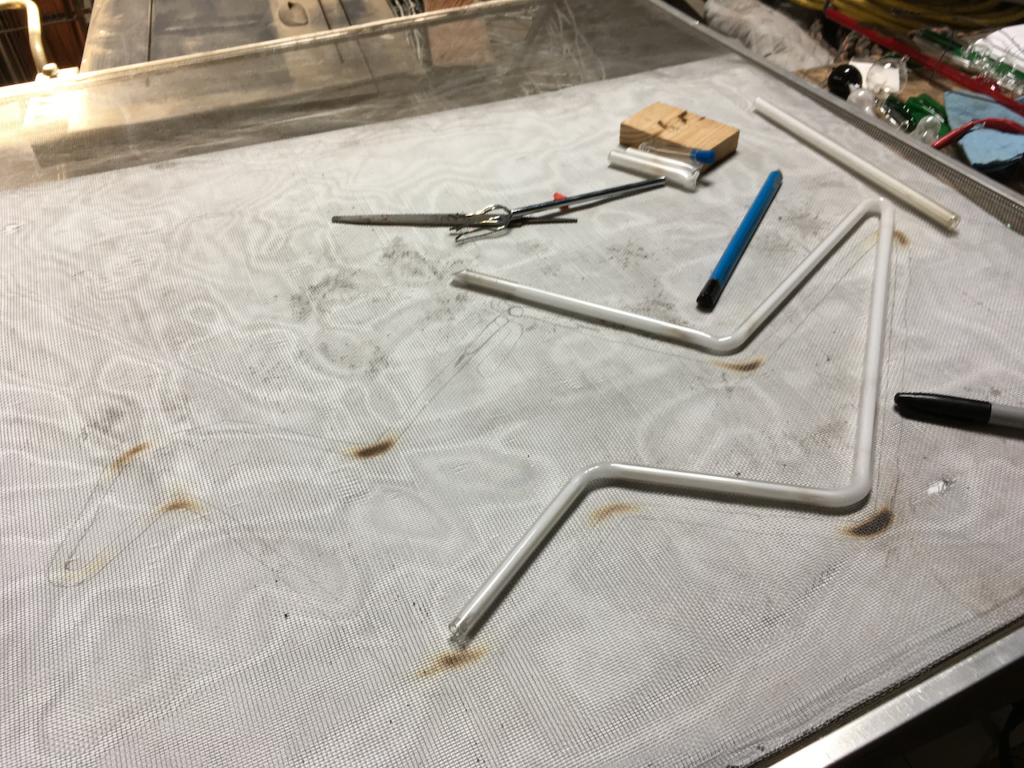
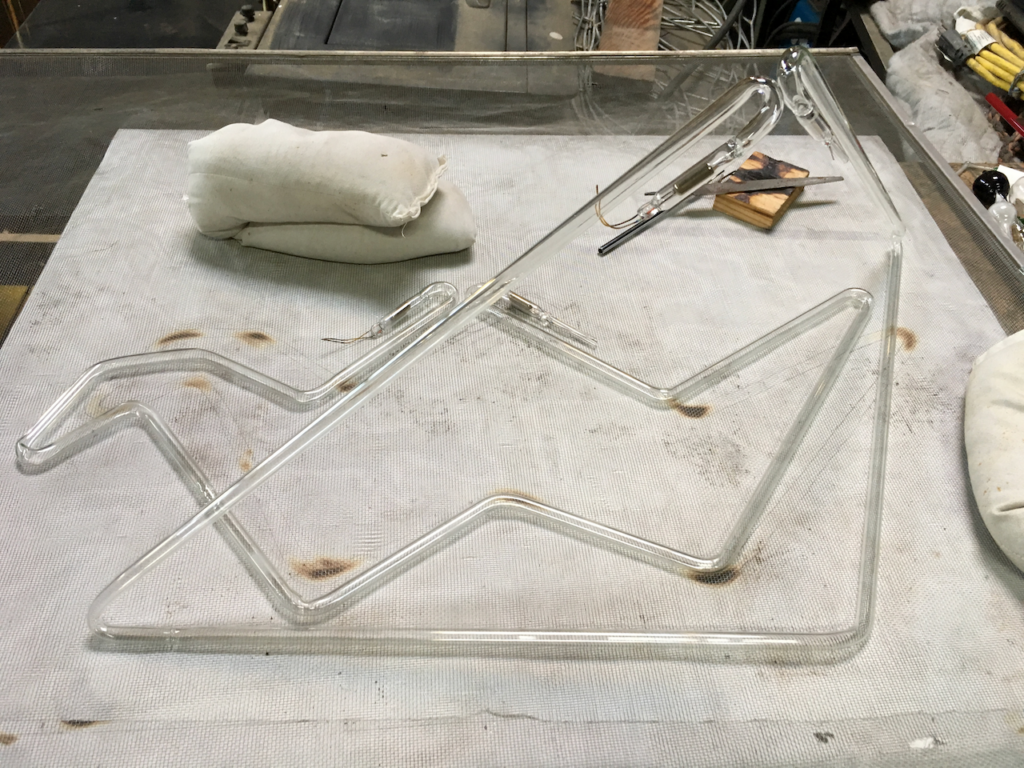
The “hello world” of any new medium for me has consistently been a suitably transposed form of an origami paper crane. I decided to take my best shot at a simplified 3D wireframe interpretation of the classic crane. This allowed me to complete the piece with two tubes, one for the body and another for the wings. I prototyped the 3D form out of coat hangers and then drew a template for the bending table.

Unfortunately I did not capture any media of the “processing” step that involves a gas manifold and bombarding transformer. It is truly a spectacle to witness the first time, especially given the extreme elements of danger involved. For a good example of how intense the bombarding process is check out this video.